Pixel 8 Studio Reboot
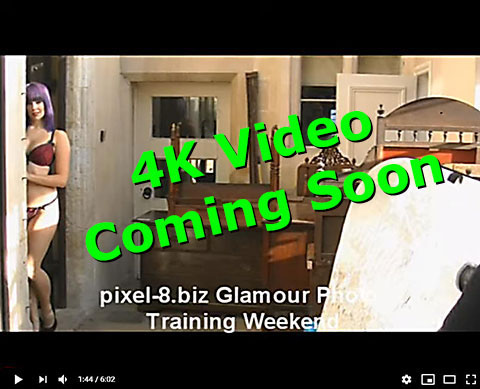
4K video of the day coming soon.
A week end to learn to control lighting
Weekend 2 day Location Shoot October 2010.This was the very first Pixel 8 location week end and was really a training session. A weekend for amateur photographers of all abilities. The object of the two days was to learn how to use on camera flash and reflectors to create natural well exposed images with perfectly balanced flash to daylight to give bright punchy pictures in difficult lighting conditions
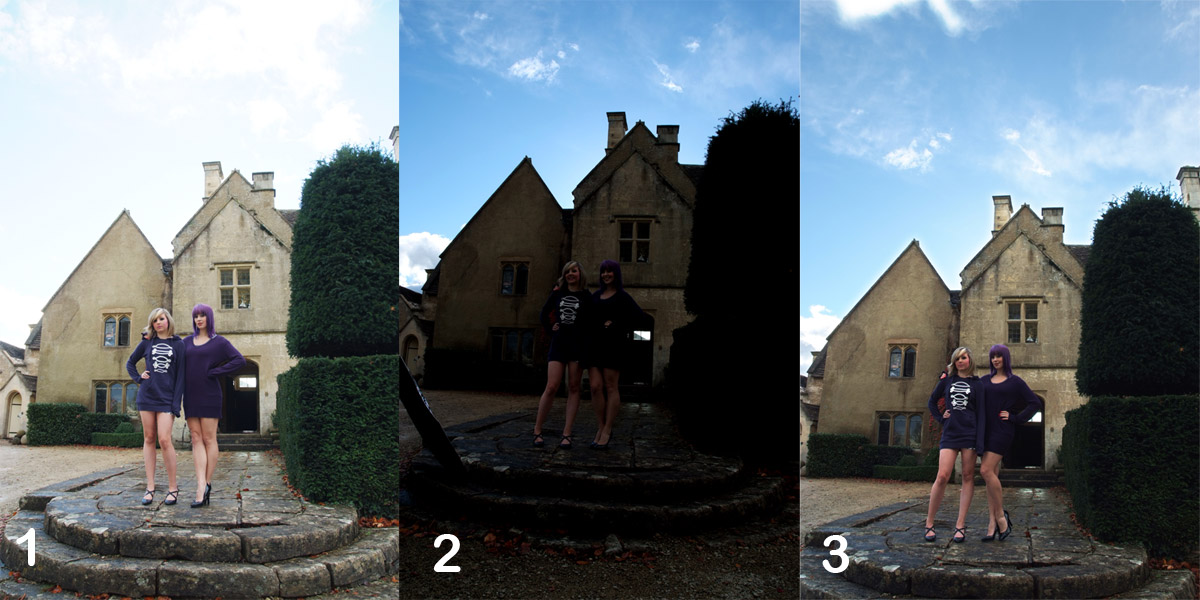
So to start the day I demonstrated how setting the camera on program shows the models and the house clearly (1) but you lose the sky. If you spot meter on the sky you lose the house and the models,(2) so using the techniques I demonstrated we were able to get the best of both sky and house (3).
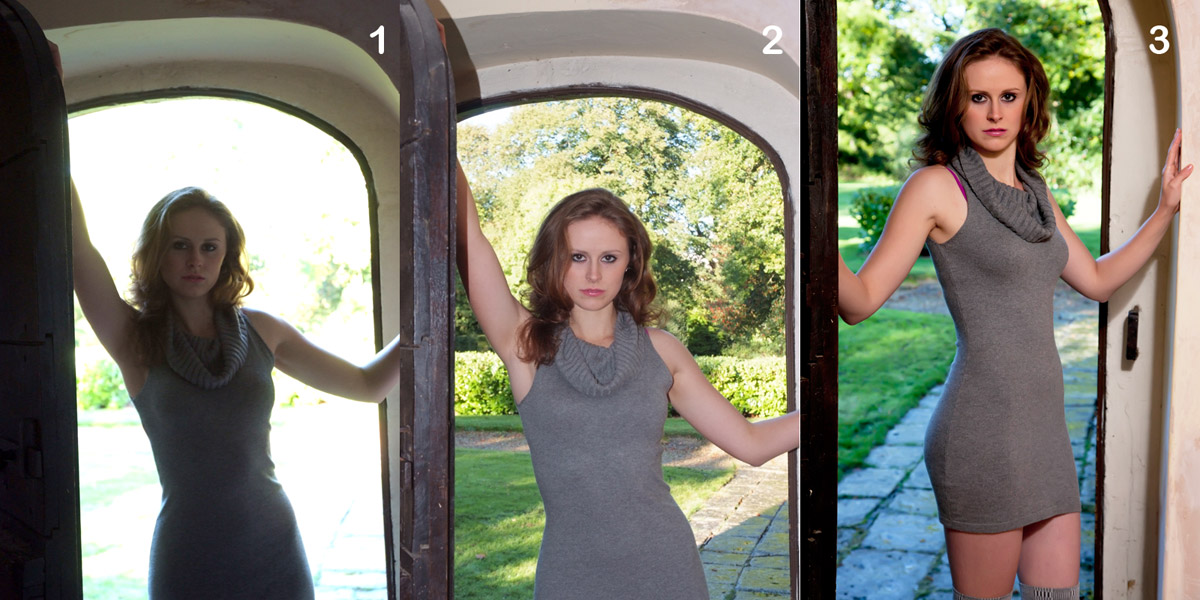
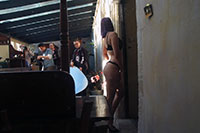
Shooting in a doorway meant what little light there was on the model will cause the camera to burn out the background completely. (1) So by practicing and using manual settings on the camera it was possible to combine the on camera flash and understanding the methods explained it is possible to achieve a very natural look (2) and once the basics have been managed you can play around and make the picture even more punchy as (3).
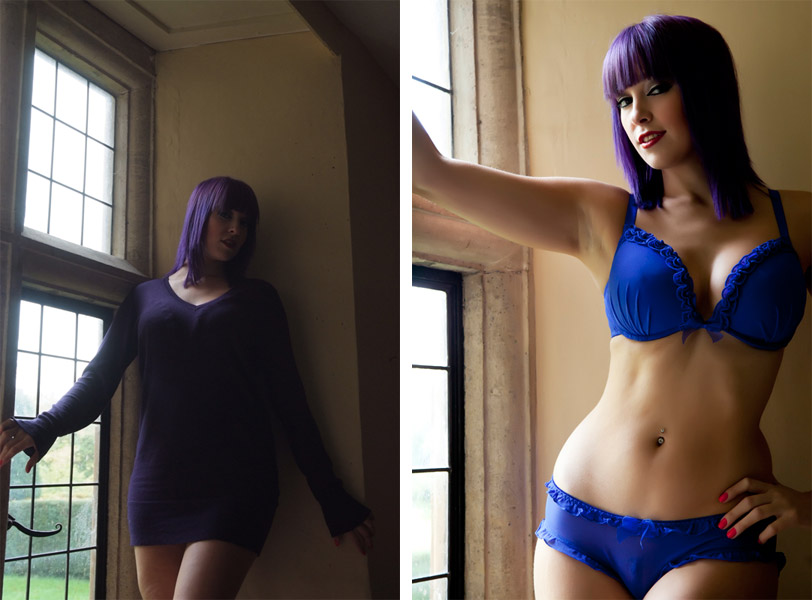
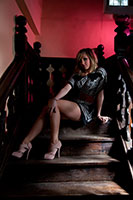
Sammy Jo stood in the north facing window and as it was raining outside the light had dropped to unusable levels. So by concentrating on what light there was and increasing it with reflectors and white boards it was possible to create the image subtly and beautifully lit on the right.

Once the technique of balancing flash against natural light is understood it is possible then to create the exact feel you want the scene to have. In (1) we see Evee looks like she is standing in front of the window lit by natural light which we know is impossible as the garden would not be visible through the window. In (2) she looks as though she is lit by light inside the room, but of course if this was the case the differing colour tempratures would cause her to be orange, or the outside would be blue. Finally in (3) it has been lit like it is evening which adds to the detail in her top. So you can create the scene you want using these lighting methods.
A selection of pictures from day one
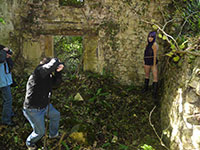
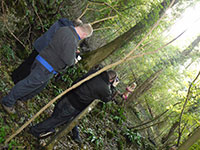
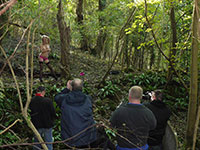
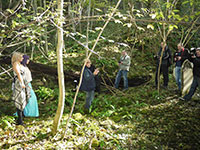
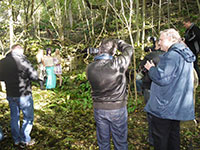
Day 2 controlling light without using off camera Flash in the Forest ruin and by the river.
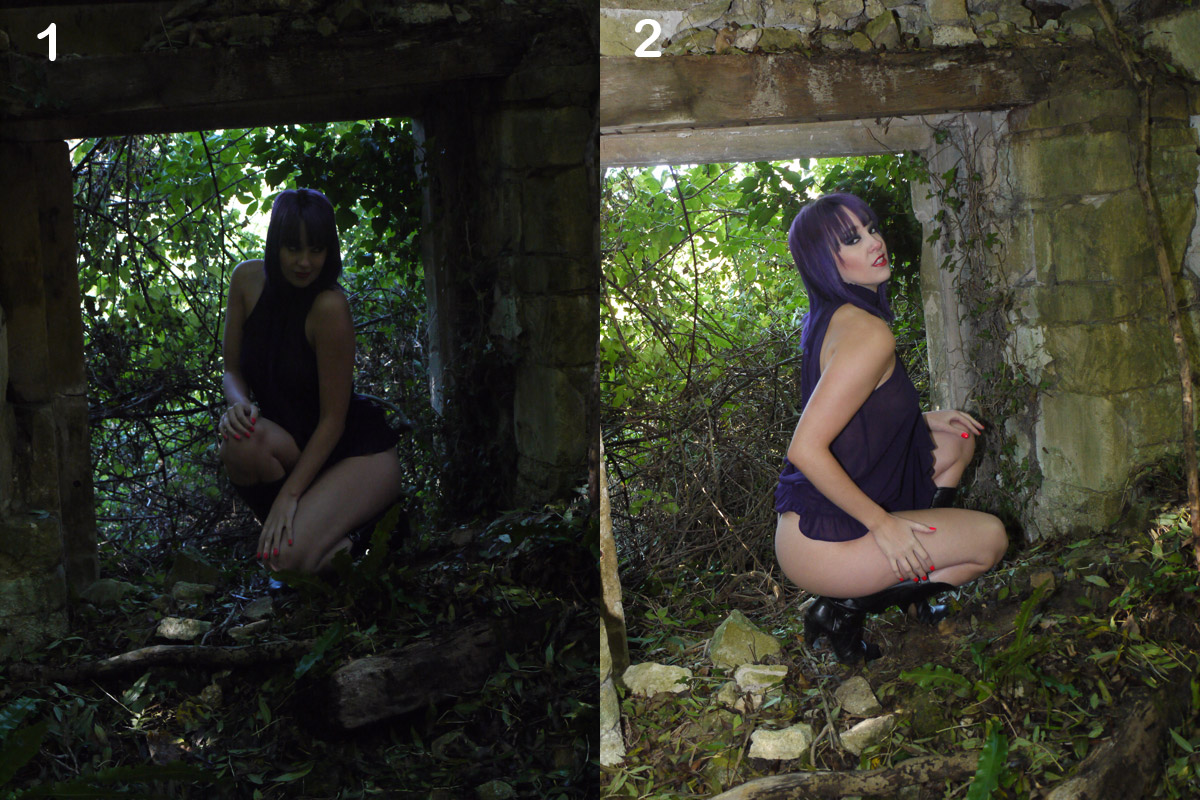
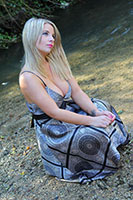
Take a light reading for the background (1) and set your on camera flash to provide balance and create a well lit punchy picture.(2)
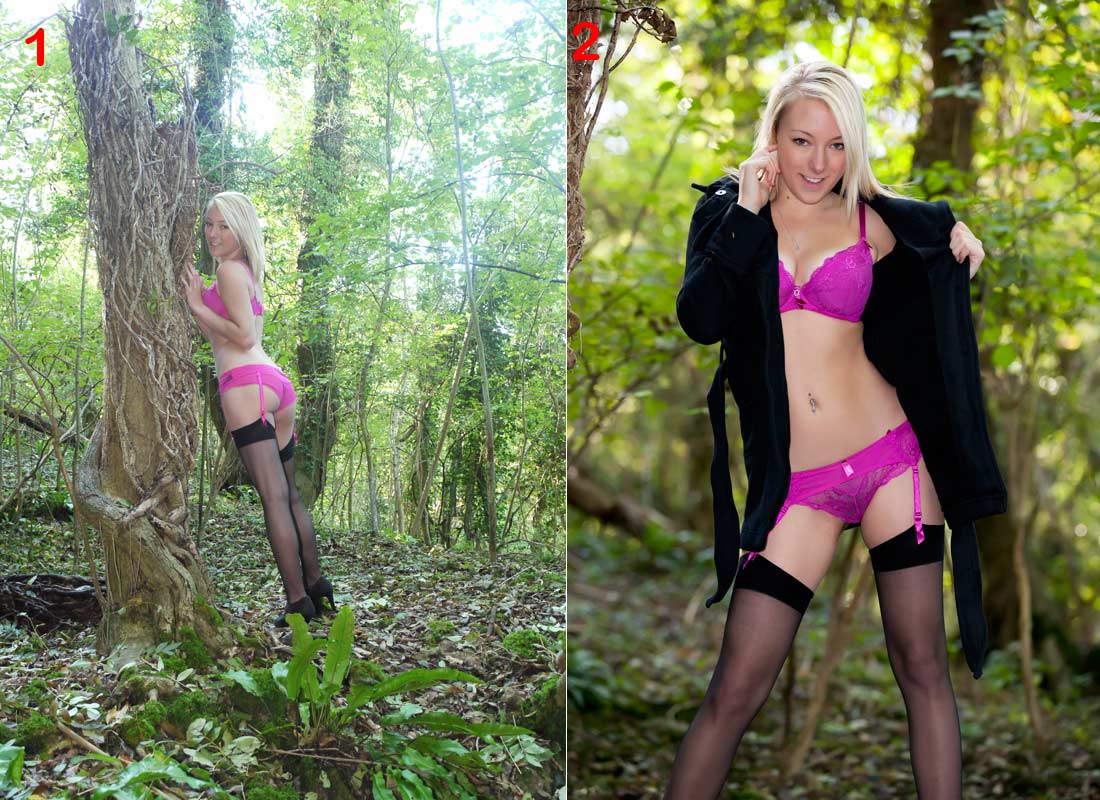
Take a light reading for the background (1) and set your on camera flash to provide balance and create a well lit punchy picture.(2)
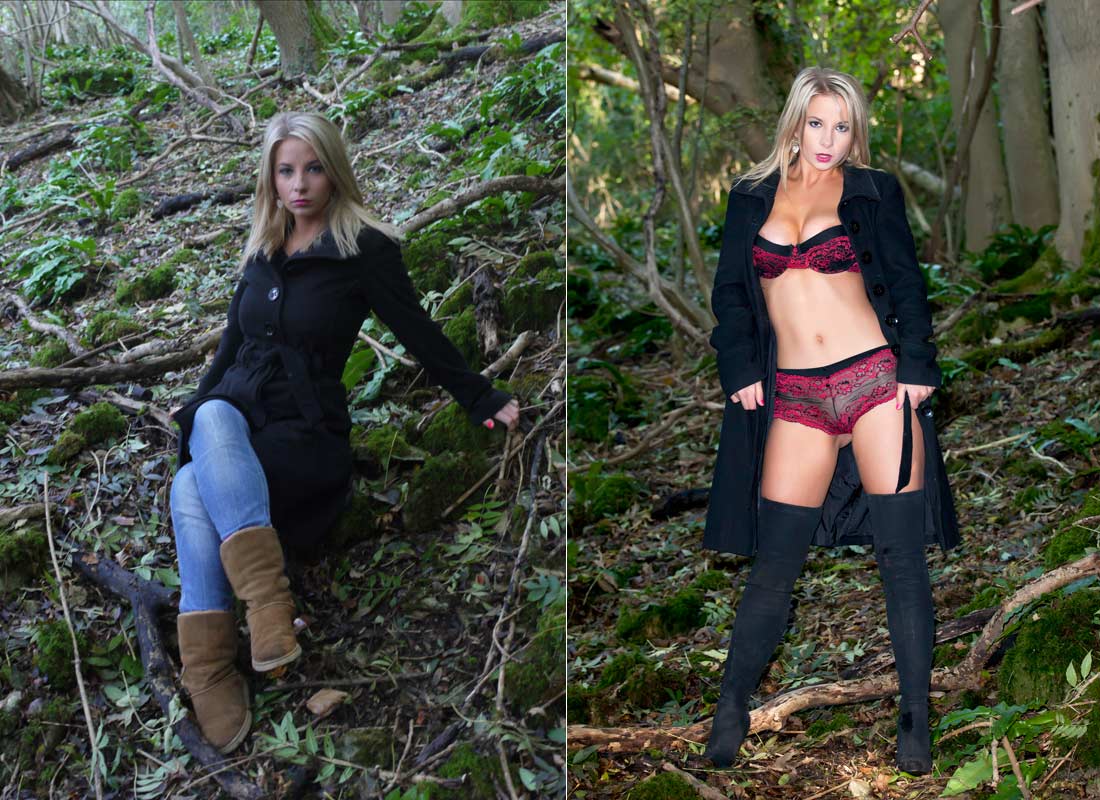
Take a light reading for the background (1) and set your on camera flash to provide balance and create a well lit punchy picture.(2) and this proves it works again and again in all conditions :)
Pictures from the morning day 2
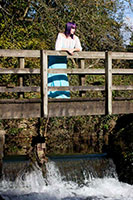
Then we moved onto location 2 by the river and normally the way of dealing with such lighting is to move the model into the shade to compensate for the harsh light, but these are the results of combining natural light and flash giving the pictures that much more subtlety than a straight pic off the camera can.
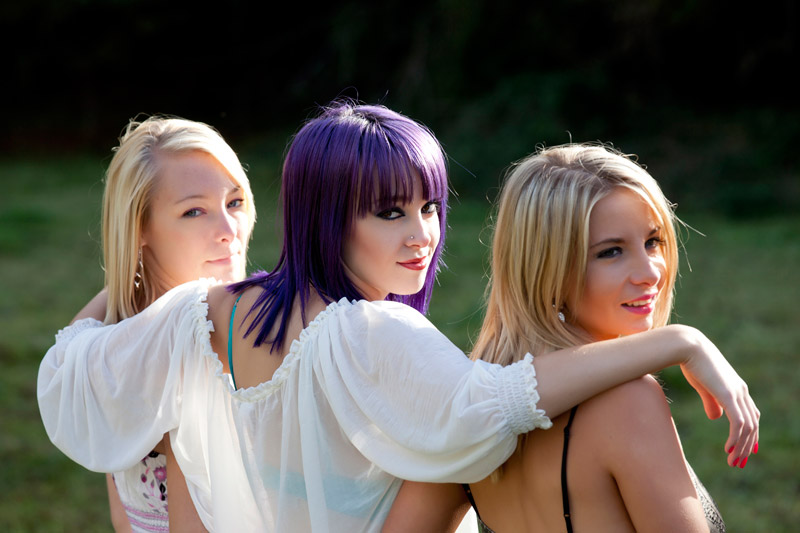
As the sun went down and the models started to get cold we moved into the studio and use the studio lights just to finish an amazing day.


Every photographer went home on Sunday evening with new knowledge about on camera flash that wasn't complicated and works every time in any conditions. To succeed to take great outdoor pictures you must have an understanding of how light works. That is exactly what this week end provided. My thanks to Richard and Dave without who's assistance I would not have been able to provide the fabulous locations, or take the time to ensure everyone understood and was able to use the methods taught. My thanks also to the models who at times started to go blue as it was really cold, but kept smiling and posing like the professionals they are. Finally thanks to all the photographers who came along, each and everyone was a team player happy to hold reflectors, white boards as well as taking great pictures. A really great weekend.
- © Pixel 8 Studio Reboot | pixel-8.biz
- Home | Training | Group Shoots | History | Girls | For Fun | Contact
